
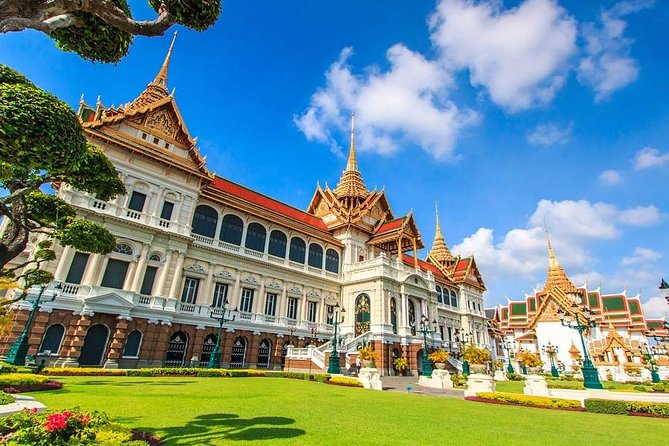
Follow the river into Bangkok.
Palace gates at opening, longtails through Thonburi, woks firing in Yaowarat and Ayutthaya’s brick towers beyond the ring road. Put the right day around each one.
Make the first bookings count.
Open with the Grand Palace while the marble is still cool. Save a morning for the floating markets, slip behind Thonburi by longtail, and keep one evening for the Chao Phraya under lights.
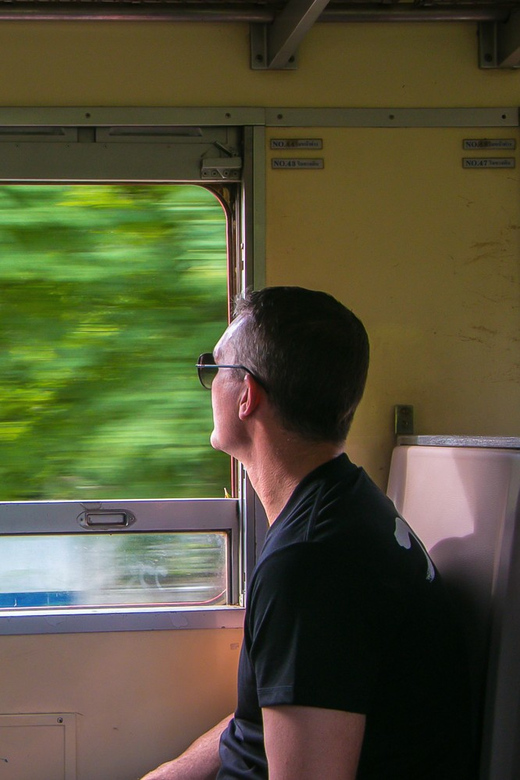
The Old Siam: Damnoen Saduak and Maeklong Railway Market
Bangkok day trip to Maeklong Railway Market and Damnoen Saduak Floating Market, with train-track stalls, paddleboat ride, and Thai snacks.
From $32 per person
Read the review →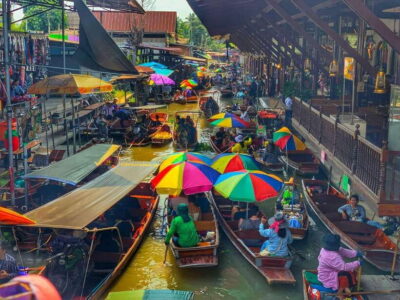 ★ 4.7Traveller favouriteTrain Market & Floating Market with Boat RideFrom $259,547 reviews
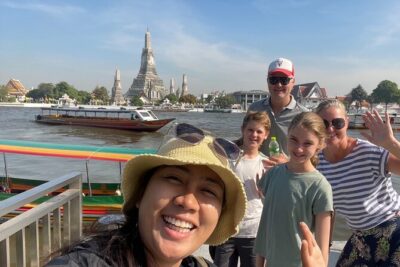 ★ 4.5Books out fastBangkok Canal Tour: 2-Hour Longtail Boat RideFrom $375,909 reviews
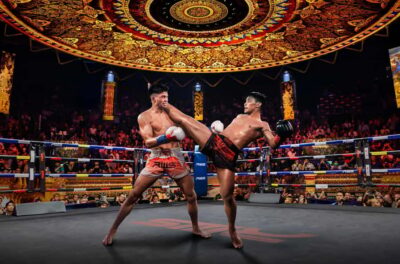 ★ 4.9Crowd favouriteMuay Thai Boxing Tickets at Rajadamnern StadiumFrom $314,740 reviews
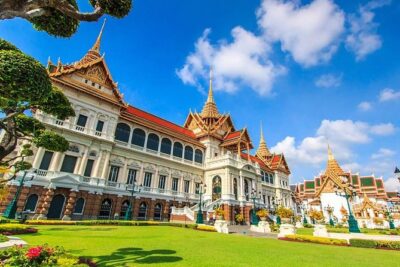 ★ 5.0Worth the early startBangkok by Private Guide: Full Day Tour In and AroundFrom $724,323 reviews
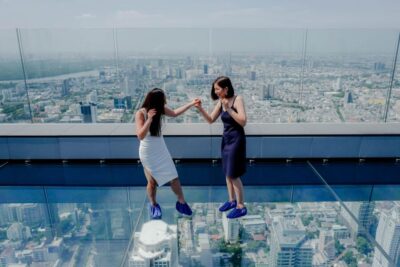 ★ 4.6Easy winMahanakhon SkyWalk Entry Ticket with OptionsFrom $424,094 reviews
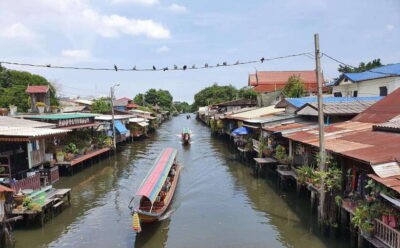 ★ 4.4Reader pickLongtail Boat Canal CruiseFrom $364,076 reviews
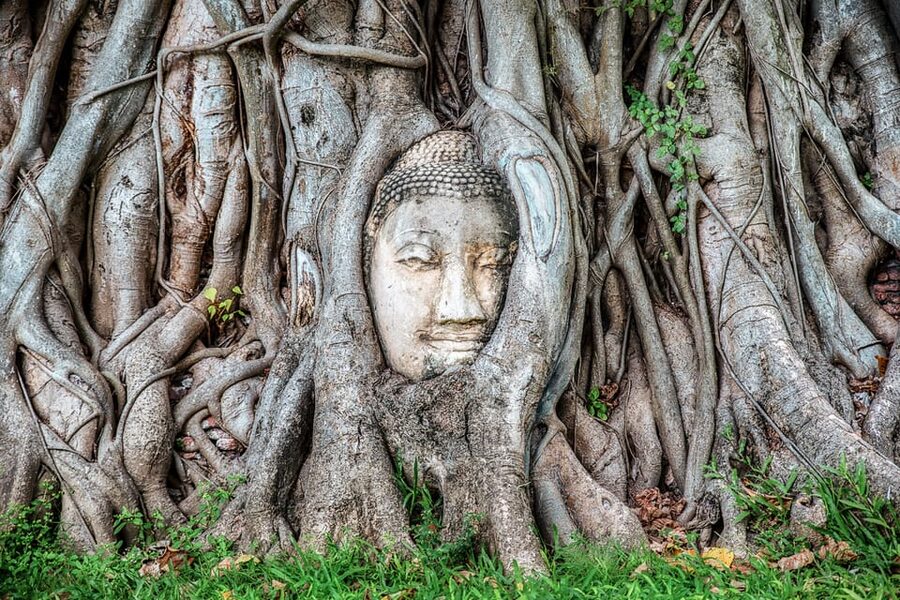
Ayutthaya gives Bangkok its long view.
Leave before the expressway fills. Wat Mahathat’s banyan-held Buddha, the tall prang of Wat Chaiwatthanaram and lunch beside the river turn a spare day into four centuries of Siamese history.
Markets, ruins or river country?
Ayutthaya suits temple walkers. Kanchanaburi pairs difficult history with green country. Damnoen Saduak and Maeklong keep the day bright, busy and close to the water. Pick the story you want to bring back.
 Temples & ruins
The old capital
7 hours · from $28 · 10,535 reviews
The ruined capital an hour north: red-brick prang, rows of headless Buddhas, the stone head laced through banyan roots. Most trips pair the temples with a Chao Phraya cruise one way. Go for history and the walk between the wats.
See the Ayutthaya days →
Temples & ruins
The old capital
7 hours · from $28 · 10,535 reviews
The ruined capital an hour north: red-brick prang, rows of headless Buddhas, the stone head laced through banyan roots. Most trips pair the temples with a Chao Phraya cruise one way. Go for history and the walk between the wats.
See the Ayutthaya days →
 River & railway
The River Kwai
12 - 14 hours · from $59 · 1,582 reviews
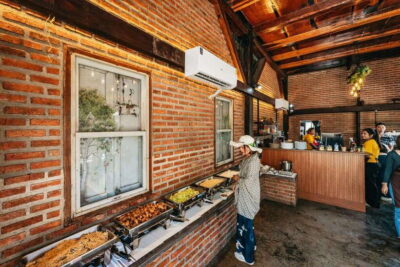
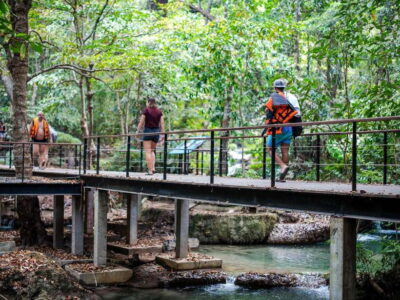
Further out, and worth the early start: the Bridge over the River Kwai, the Death Railway cut into the cliff, the war cemetery, waterfalls to swim under. A heavier, greener day than the market runs, and the one people remember.
See the Kanchanaburi trips →
River & railway
The River Kwai
12 - 14 hours · from $59 · 1,582 reviews
Further out, and worth the early start: the Bridge over the River Kwai, the Death Railway cut into the cliff, the war cemetery, waterfalls to swim under. A heavier, greener day than the market runs, and the one people remember.
See the Kanchanaburi trips →
 Boats & markets
The market circuit
7 hours · from $25 · 26,723 reviews
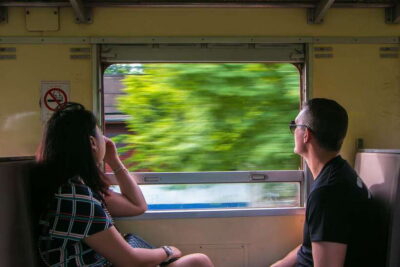
The classic combo: Damnoen Saduak by longtail through the canals, then the Maeklong railway market packing up as the train rolls through. Buy mango and coconut ice from a paddle boat. Leave at dawn to beat both the heat and the tour buses.
See the floating markets →
Boats & markets
The market circuit
7 hours · from $25 · 26,723 reviews
The classic combo: Damnoen Saduak by longtail through the canals, then the Maeklong railway market packing up as the train rolls through. Buy mango and coconut ice from a paddle boat. Leave at dawn to beat both the heat and the tour buses.
See the floating markets →
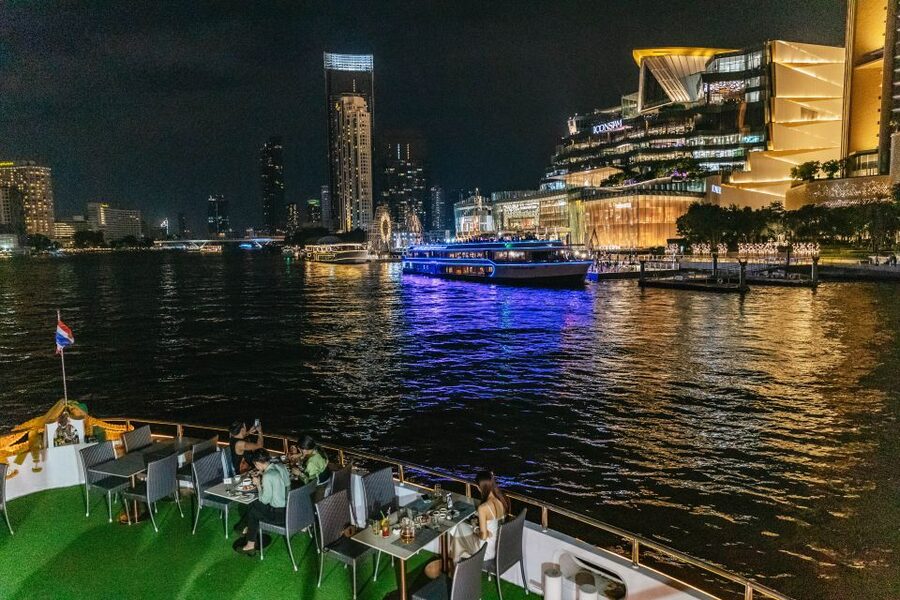
Meet Bangkok on the water after dark.
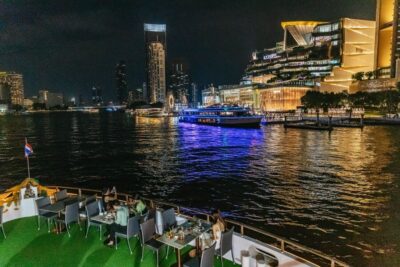
Wat Arun glows across the black river, dinner boats ease past the palace district, and the skyline opens above Sathorn. The city changes pace after sunset; choose a deck, a table or a late tuk-tuk.
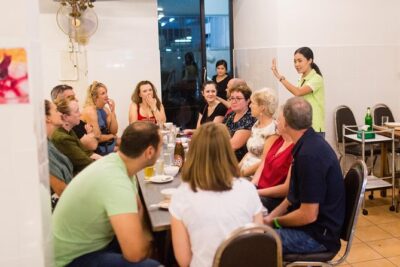
Let dinner happen one stall at a time.
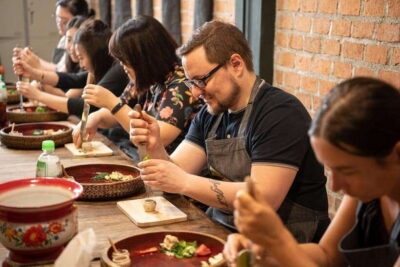
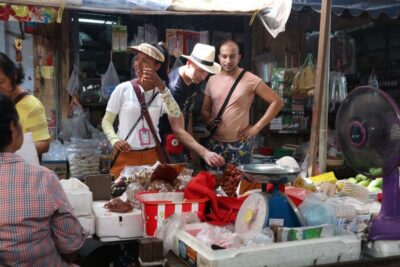
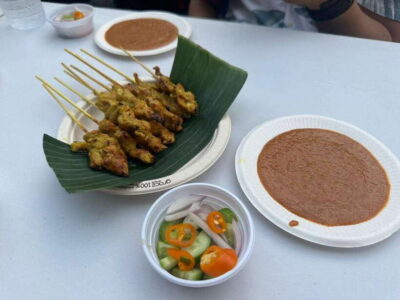
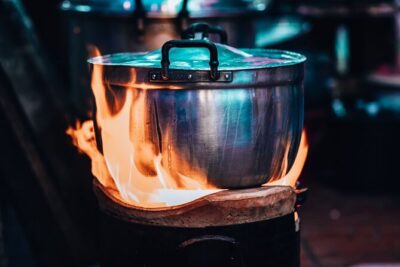
Follow the smoke from charcoal skewers, stop for peppery boat noodles, then watch som tam land in the mortar. A good food walk makes sense of the queue; a cooking class lets you take the flavour home.
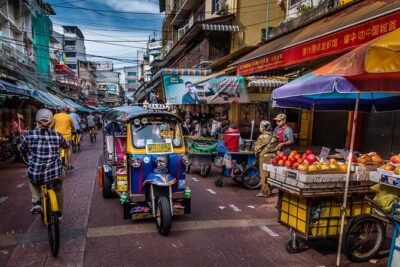
Trade the taxi for a tuk-tuk or bike.
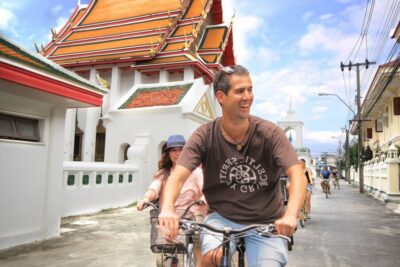
Tuk-tuks stitch temples to night markets once the air cools. Bikes reach Bang Krachao’s raised lanes and the canals cars never see. Both reveal a smaller Bangkok behind the flyovers.
Give the palace district a real morning.
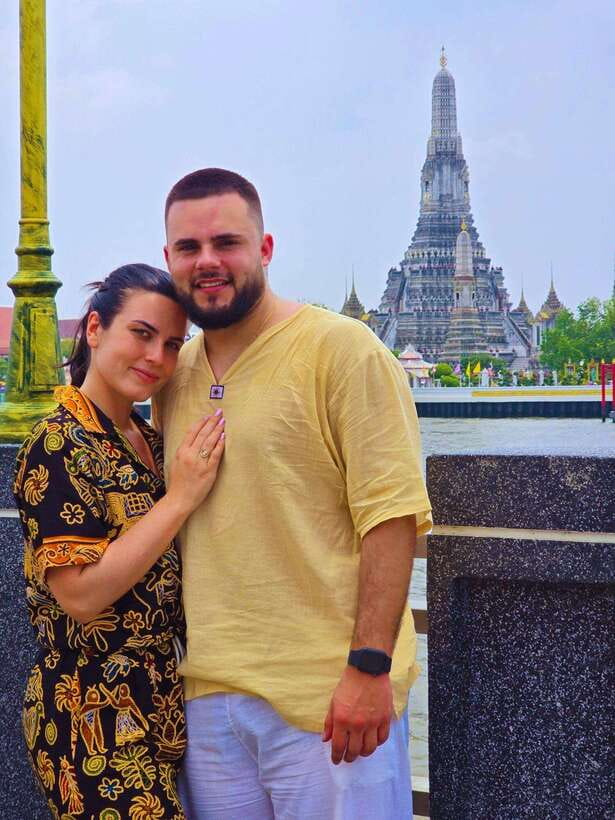
Begin with the Emerald Buddha, walk to Wat Pho’s reclining figure, then cross the river to Wat Arun. Covered shoulders and an early gate matter; so does a guide who can read the murals instead of rushing past them.
Choose the street before the tour.
Rattanakosin for royal walls. Yaowarat for dinner in the road. Thonburi for canals and wooden houses. Sathorn for the view once the sky turns violet.
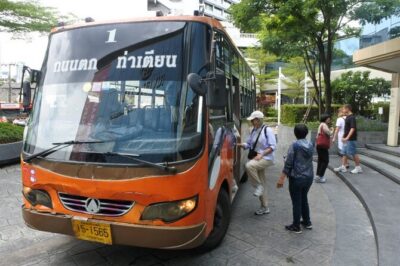
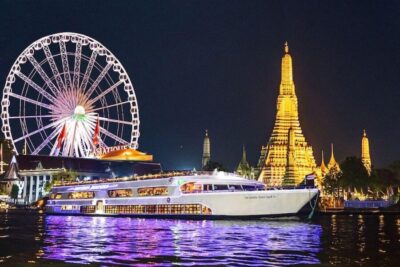
Slow boat, fast lap or long lunch?
Choose water, wheels, food, temples or a private guide. Bangkok has a different rhythm for every spare half-day.
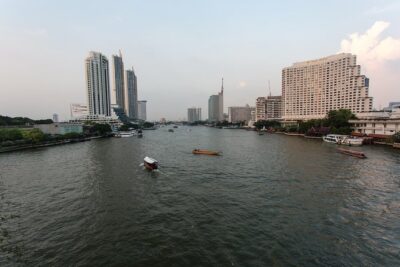
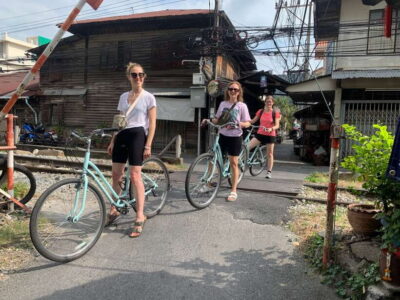
The alarm is early; the reward is outside town.
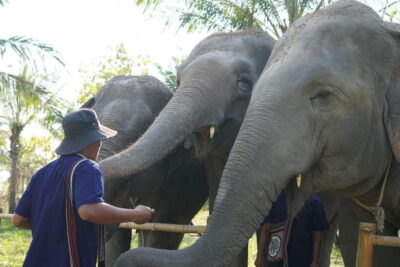
Stand among Ayutthaya’s ruins, ride the rail line beside the Kwai, watch Maeklong’s awnings fold, or spend a slower day near rescued elephants. Bangkok is still your bed that night.
Palace first. River second. Old capital last.
Keep each day in one direction: the royal city, the markets and river, then the road north. Less backtracking leaves more room for lunch.
Day 1
The palace and the river
Grand Palace at opening while it’s cool, Wat Pho and the reclining Buddha next door, a cross-river ferry to Wat Arun, then a longtail through the khlongs. Cover your shoulders.
Plan day one →
 Day 2
Markets, food and the skyline
A floating or weekend market in the morning, a cooking class at lunch, Chinatown by tuk-tuk after dark, and a rooftop bar or dinner cruise to finish on the water.
Plan day two →
Day 3
The day out of the city
Take the pickup to Ayutthaya’s ruins, or push further to the River Kwai. Both come back down the river or the railway. Pick history or green, and leave early either way.
Plan the day trip →
Day 2
Markets, food and the skyline
A floating or weekend market in the morning, a cooking class at lunch, Chinatown by tuk-tuk after dark, and a rooftop bar or dinner cruise to finish on the water.
Plan day two →
Day 3
The day out of the city
Take the pickup to Ayutthaya’s ruins, or push further to the River Kwai. Both come back down the river or the railway. Pick history or green, and leave early either way.
Plan the day trip →
Latest Bangkok tour reviews.
 ★ 5.0Private Floating Market and Maeklong Railway Market Day TourFrom $1223 reviews
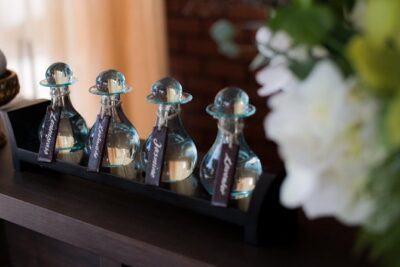 ★ 5.0Hot Oil Massage (2hours)From $783 reviews
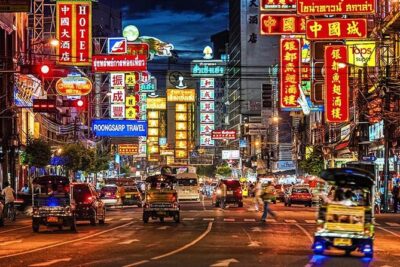 ★ 4.0Private Tour: The Best of Bangkok Temples – Half DayFrom $1393 reviews
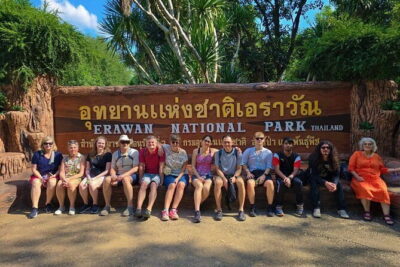 ★ 3.0From Bangkok: Kanchanaburi, River Kwai and Erawan Waterfall TourFrom $703 reviews
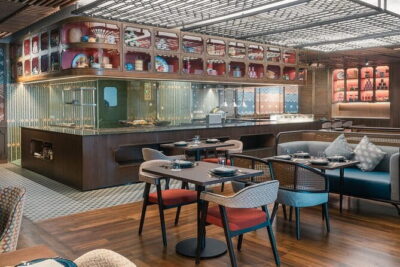 ★ 5.0ChomSindh Authentic Thai Dining Experience – Lunch or DinnerFrom $583 reviews
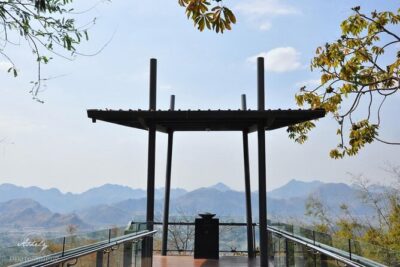 ★ 5.0Kanchanaburi Tour Hellfire Pass History tourFrom $1103 reviews
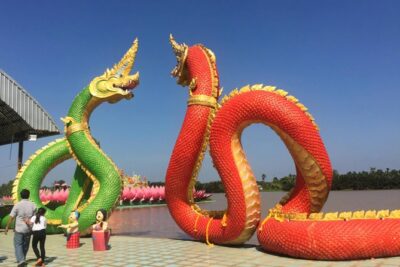 ★ 3.0Chachoengsao One Day Trip from Bangkok : Historic Market and Buddhist TemplesFrom $1833 reviews